Ever wonder how art galleries and museums seem to have every picture hung perfectly at the ideal height and in almost precise symmetry with every other piece? There is no secret. It comes down to preparation and following a few simple steps to create a look that impresses and appeals to the eye.
Gather The Picture Hanging Supplies You’ll Need
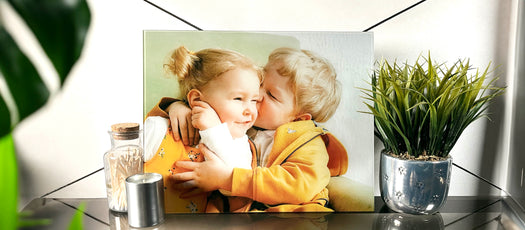
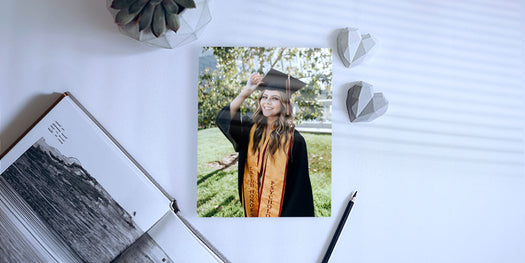
We’ll start with the assumption that you have already determined the perfect solution for framing or showcasing your favorite photos or wall art. Your choices include photos displayed on canvas, metal, glass, acrylic, or wood.
By looking at the back of the print, you’ll see the type of hanging hardware you’ll be working with. The most common are hanging wire, D-rings, or a sawtooth hangar. A sawtooth hanger is common on light frames, mounts to the upper edge, and works well with a medium to large nail. A D-ring usually is attached nearer to the center of the back of the frame and works best with picture hanging hooks and bear claw hangers. The hardware should suit the weight and size of the frame.
Other materials you may need to hang your photo include a hammer, measuring tape, painter’s tape, and a pencil. Depending on the weight of your photo, you may also want to have a stud finder, wall anchors, and a drill with bits on hand.
Plan the Photo Hanging
Before you pick up that hammer, take a moment or two to decide exactly where, how high, and, based on the material of your walls, how to hang your photo to give it that perfect placement and appearance on your wall.
Find the Right Space
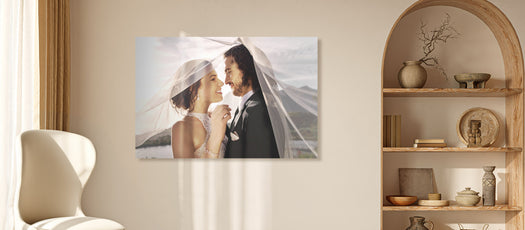
Whether you are hanging one photo or creating a gallery of wall art, take a moment to consider the space where it will go. Is there natural lighting that can highlight aspects of the photo? Will it make the wall space look cluttered? Does it get along shape and color-wise with nearby objects like lamps and furniture? You want your photo to be displayed where it will be appreciated and enjoyed the most.
The 57-Inch Rule
The standard practice of photo hanging followed by art gallery professionals is called the 57-inch rule. The focal point of the photo or wall art should 57 inches from floor, which is considered the average human eye level, and can provide a uniform feel for photos throughout a space when art of different shapes and sizes are all on the same eye line. It’s important to note that the 57-inch mark you measure is not where your nail or hook will be on the wall. It may be necessary to do some math to center accordingly.
- Measure 57 inches from the floor and mark it on the wall (or tape).
- Find the focal point of the photo by measuring its height and dividing in two.
- Measure from the top of the frame to the hook or taut hanging wire, and subtract it from the focal point measurement.
- Take this number and add it to the 57-inch mark
- Mark it with a pencil or painter’s tape
- This is the focal height for your hook.
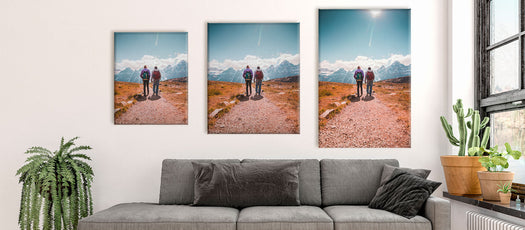
The 57-inch rule applies even if you’re grouping several photo of various sizes together on one wall. In that case, you’ll select one piece of wall art (usually the largest) to hang with its focal point at 57 inches and arrange the others beside and above (never below!) with a consistent space between all of the frames.
Of course, with every rule there are exceptions, and the 57-inch rule does not always apply, such as when hanging above furniture, mantles, or other architectural features. In such cases, it’s recommended that the bottom of the picture frame be approximately 10 inches above the furniture or obstruction.
Mark The Wall and Get Ready to Hammer
Your frame may be light enough to be supported adequately by one nail, but in most cases it’s recommended to anchor the nail, hook, or bear claw hanger in a wall stud for additional sturdiness and support. If there isn’t a stud where you want to hang your piece and weight is an issue, you can drill a hole in the wall and insert a wall anchor and leave room between the screw head and wall for hanging wire.
Line the picture over the focal height mark and mark where the top of the frame hits. Measure the back of frame from the top to the hanging hardware and transfer this measurement down from the mark on the wall and use your pencil here. You’re ready to go.
Hang The Photo With Style
At this point, it’s a matter of securing the hanger into the wall, adjusting your frame or wall art to perfection, either by eye or with a level, and standing back to admire. However, why stop with hanging only one favorite photo? With some planning and imagination, you can turn your photo displays into gallery-style exhibitions and mount them in numerous arrangements to create one work of art and add a flair to your space.
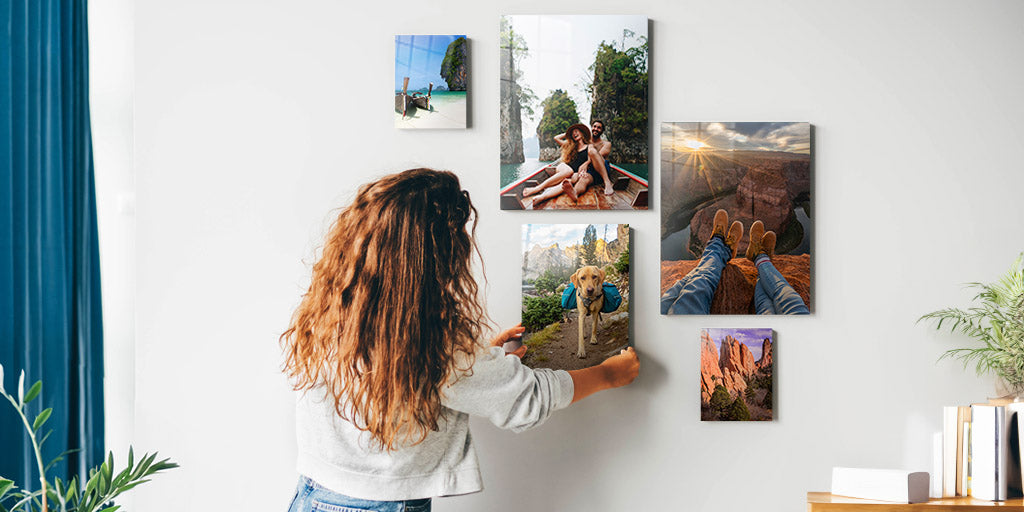
Gallery Walls
Creating a gallery wall requires some planning but the result can be a vibrant way to display your favorite family photos and decorate your home with wall art that reflects your personality. One method is to trace the pictures onto kraft paper, cut their patterns, and arrange them on the floor or tape them to your wall until you see a pattern you like. One tip is to put the largest photo in the center and arrange the other around it, leaving a two-inch gap between smaller frames and a 3-to-6-inch space for larger frames.
Picture Hanging Systems
A convenient way to hang photos while minimizing the need for nailing or drilling into the wall for every separate photo is using a picture hanging system. Commonly used in art galleries, they consist of a hanging rail or track mounted along the ceiling with hanging cords or wires extending down and attaching to the photos.
Creating the ideal, comfortable space by filling it with your most cherished and best-loved photos is easy and needs only a little strategizing. The end result can be a personal expression of your tastes and travels and a showcase for the relationships that matter most to you. Photography.com can help you turn your most treasured memories into brilliant wall art with new and innovative approaches to printing on a wide selection of vibrant materials.